Powerful video-editor gains new ‘guided’ mode that helps beginners get started
When Apple redesigned iMovie back in 2008, it rather threw the baby out with the bathwater. There were genuine innovations in the new iMovie, such as the ability to ‘skim’ through video clips so that you could quickly find and select the scenes that you wanted. But other features, such as the options for creating titles and transitions, took a disappointing step backwards.
The release of iMovie ’11 in late 2010 restored a number of important features, including a more traditional ‘single-row’ timeline view. Unfortunately, iMovie hasn’t been upgraded since then and still lacks the sheer depth and variety of editing tools and effects available in rivals such as Premiere Elements.
Read more Mac Software reviews
In contrast, Premiere Elements has traditionally suffered from the opposite problem. Its multi-track timeline allowed you to perform complex editing tasks, and it completely outgunned iMovie with its wider range of transitions, filters and animation effects. However, that range of tools also meant that Premiere Elements was far more complicated to use than iMovie. So, to make the program more appealing to new users, last year’s release of Premiere Elements 11 saw the program offering two separate editing modes. The ‘Expert’ mode continued to give you access to the program’s full array of editing tools, while the new ‘Quick’ mode provided a simplified editing interface with – somewhat ironically – a single-row editing timeline similar to that of the pre-2008 iMovie.
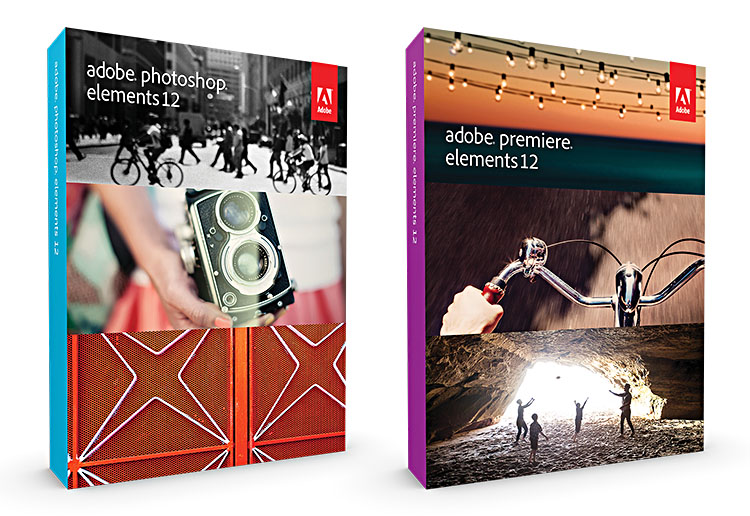
This year’s update to Premiere Elements 12 continues to make the program more accessible by introducing another new editing mode called ‘Guided Edits’. This is similar to the Guided mode already available in Photoshop Elements and provides step-by-step help with a number of common video-editing tasks.
By default, Premiere Elements launches into Quick mode, with a large ‘Add Media’ button floating on screen in front of you to help you get started. Once you’ve imported one or more video clips you can click the new ‘Guided’ tab that sits at the top of the screen, and you’ll then see a list of different editing tasks that the program can help you with.
If you’re new to Premiere Elements you can select the ‘Getting Started’ guide right at the top of this list. This gives you a brief introduction to basic tasks, such as using the playback controls, trimming clips, and adding transitions. Other guided edits move on to tackle increasingly complex tasks, such as adding titles, working with sound, or creating picture-in-picture effects.
The assistance provided by these guided edits is very comprehensive. A floating window provides step-by-step written instructions on how to perform each task, with graphics and icons to identify the tools under discussion. If the guided edit task requires you to select a particular menu option then that menu will open automatically and a big yellow animated arrow will point right at the option you need. It doesn’t quite say – “press this, you idiot!” – but you get the idea.
I’ve seldom seen a program make such an effort to explain its key features to new users, so there really is no reason even for video-editing novices to be daunted by the idea of tackling Premiere Elements anymore.
Auto Smart Tone can be used to adjust the lighting and colour in a video clip
But more experienced users aren’t left out, either. Another new feature that – like Guided Edits – takes its inspiration from Photoshop Elements is the ability to use ‘adjustment layers’ to apply effects to multiple clips within a movie project. This feature requires you to work with the multi-track editing timeline, so you’ll have to take the plunge and enter Expert mode.
You can drag any effects filter – such as the new ‘Comic’ artwork or ‘Yesteryear’ effects – into the Preview window that displays your edited movie project. That effect then becomes an ‘adjustment layer’ that sits in its own timeline track directly above all your existing clips.
The chosen effect is then applied to any clip that sits below it in the Timeline, but you still have the option of removing that effect from any individual clip simply by moving the clip up into another Timeline track above the adjustment layer. This is a powerful effects feature because you can use it very selectively, perhaps using it with the Comic effect to cut between conventional video clips and other clips that look like comic-book artwork.
A less exotic, but equally useful new feature is Auto Smart Tone, which can be used to adjust the lighting and colour in a video clip in order to improve visibility or create a more dramatic effect. When you select Auto Smart Tone from the Adjustments menu you can either allow it to work automatically, or click the ‘Custom’ button to display a grid that includes previews of the video image in each corner of the grid.
Each preview uses different lighting and tone settings, and you can modify these settings by using your mouse to move a control handle around this grid until you achieve the desired effect. If you want to apply the same settings to additional clips you can click the ‘Learn’ button and those settings will automatically be applied to subsequent clips until you turn the ‘Learn’ option off again.


Leave a Reply